01
Organize your layers.
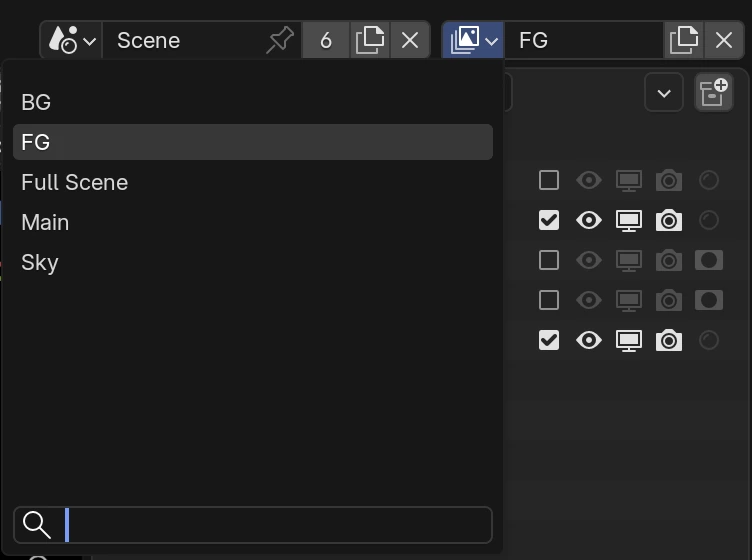
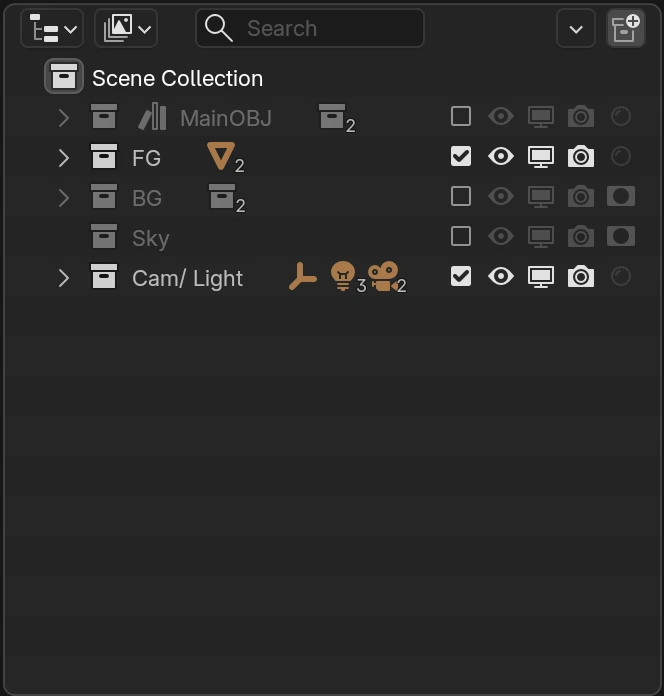
Use Blender’s built-in View Layers to separate your scene, then include or exclude collections for each layer.

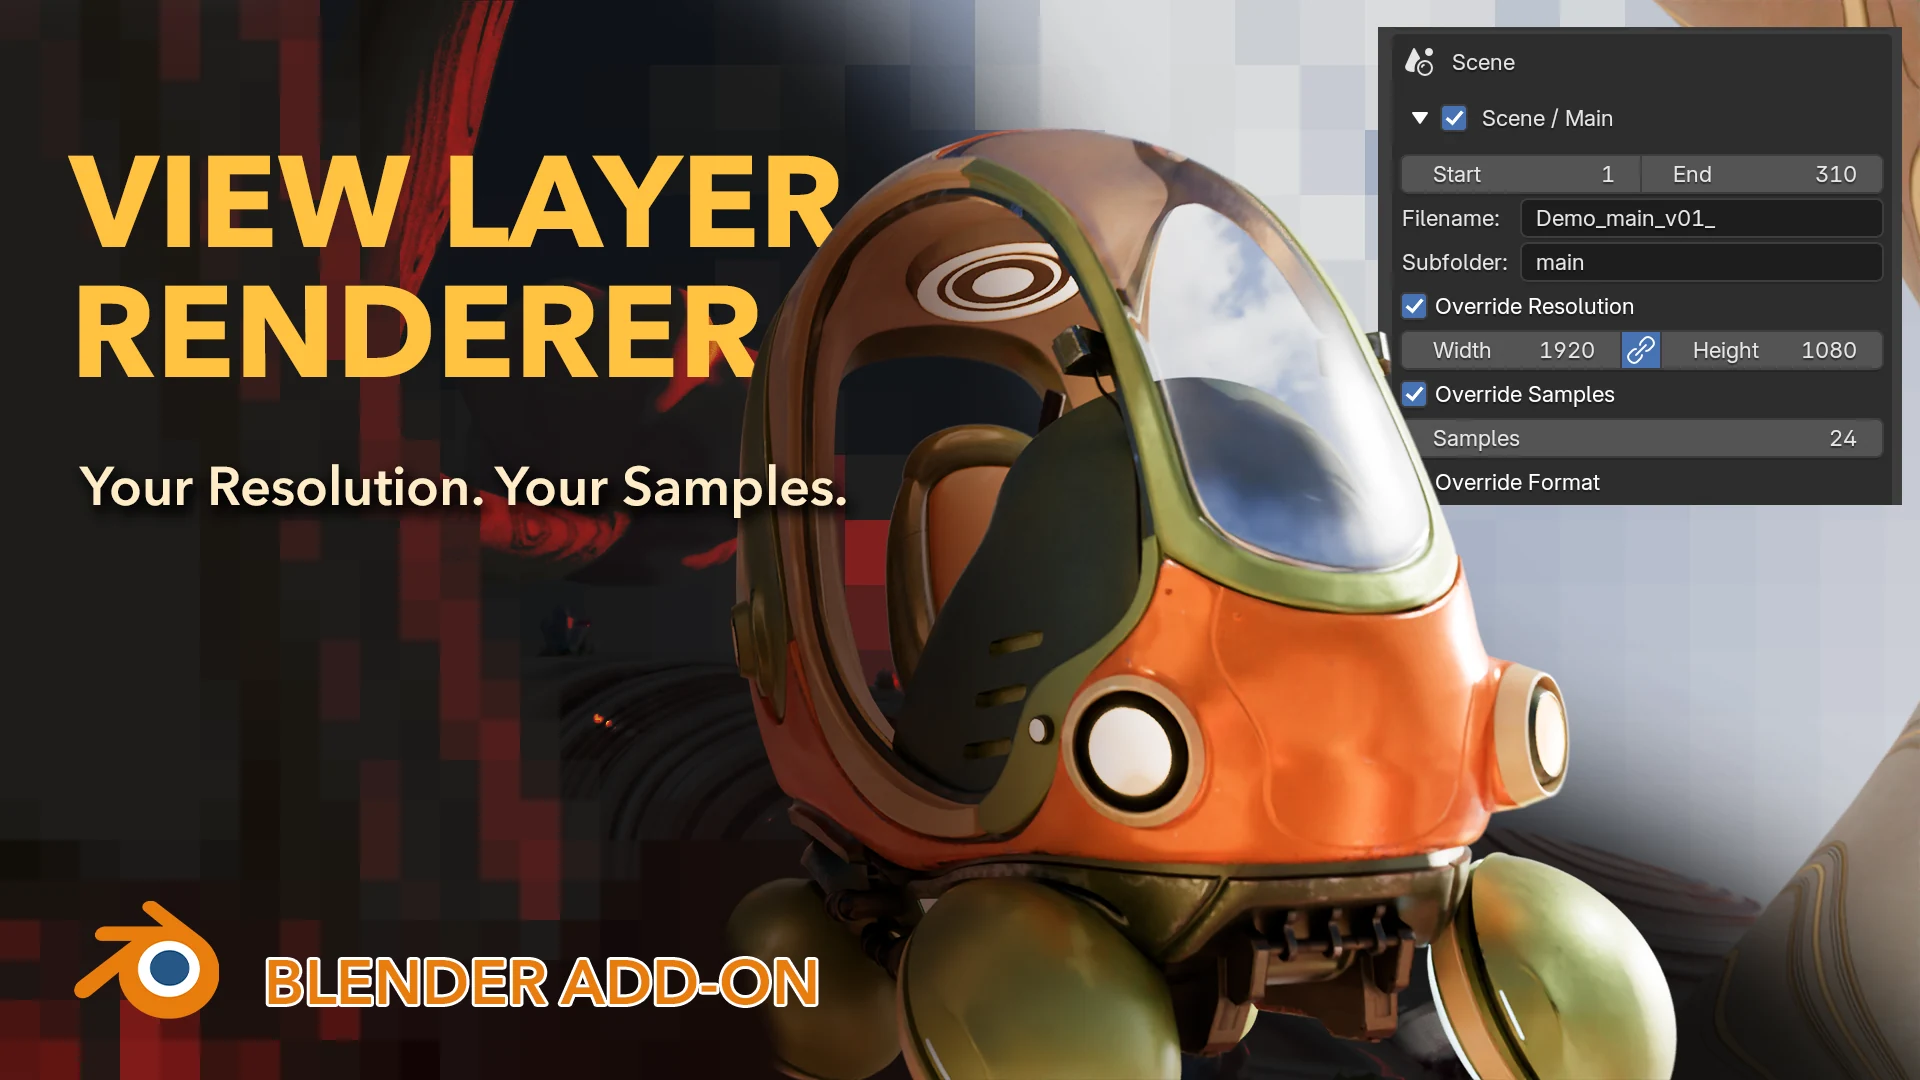
Your resolution.
Your samples.
Use Blender’s built-in View Layers to separate your scene, then include or exclude collections for each layer.
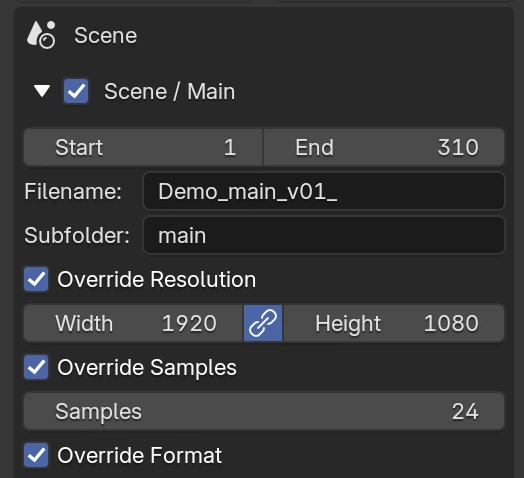
Set frame ranges, resolution and output names for each layer. Pro also lets you override samples, output format and transparency per layer.
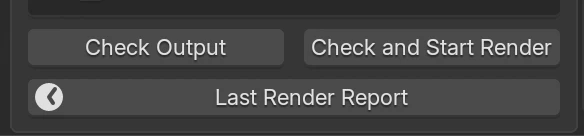
Click Check Output to review your settings, then Check and Start Render to begin. Get some sleep—check Last Render Report when your renders are ready.
Download the ZIP and keep it compressed. View Layer Renderer requires Blender 4.2 or later.
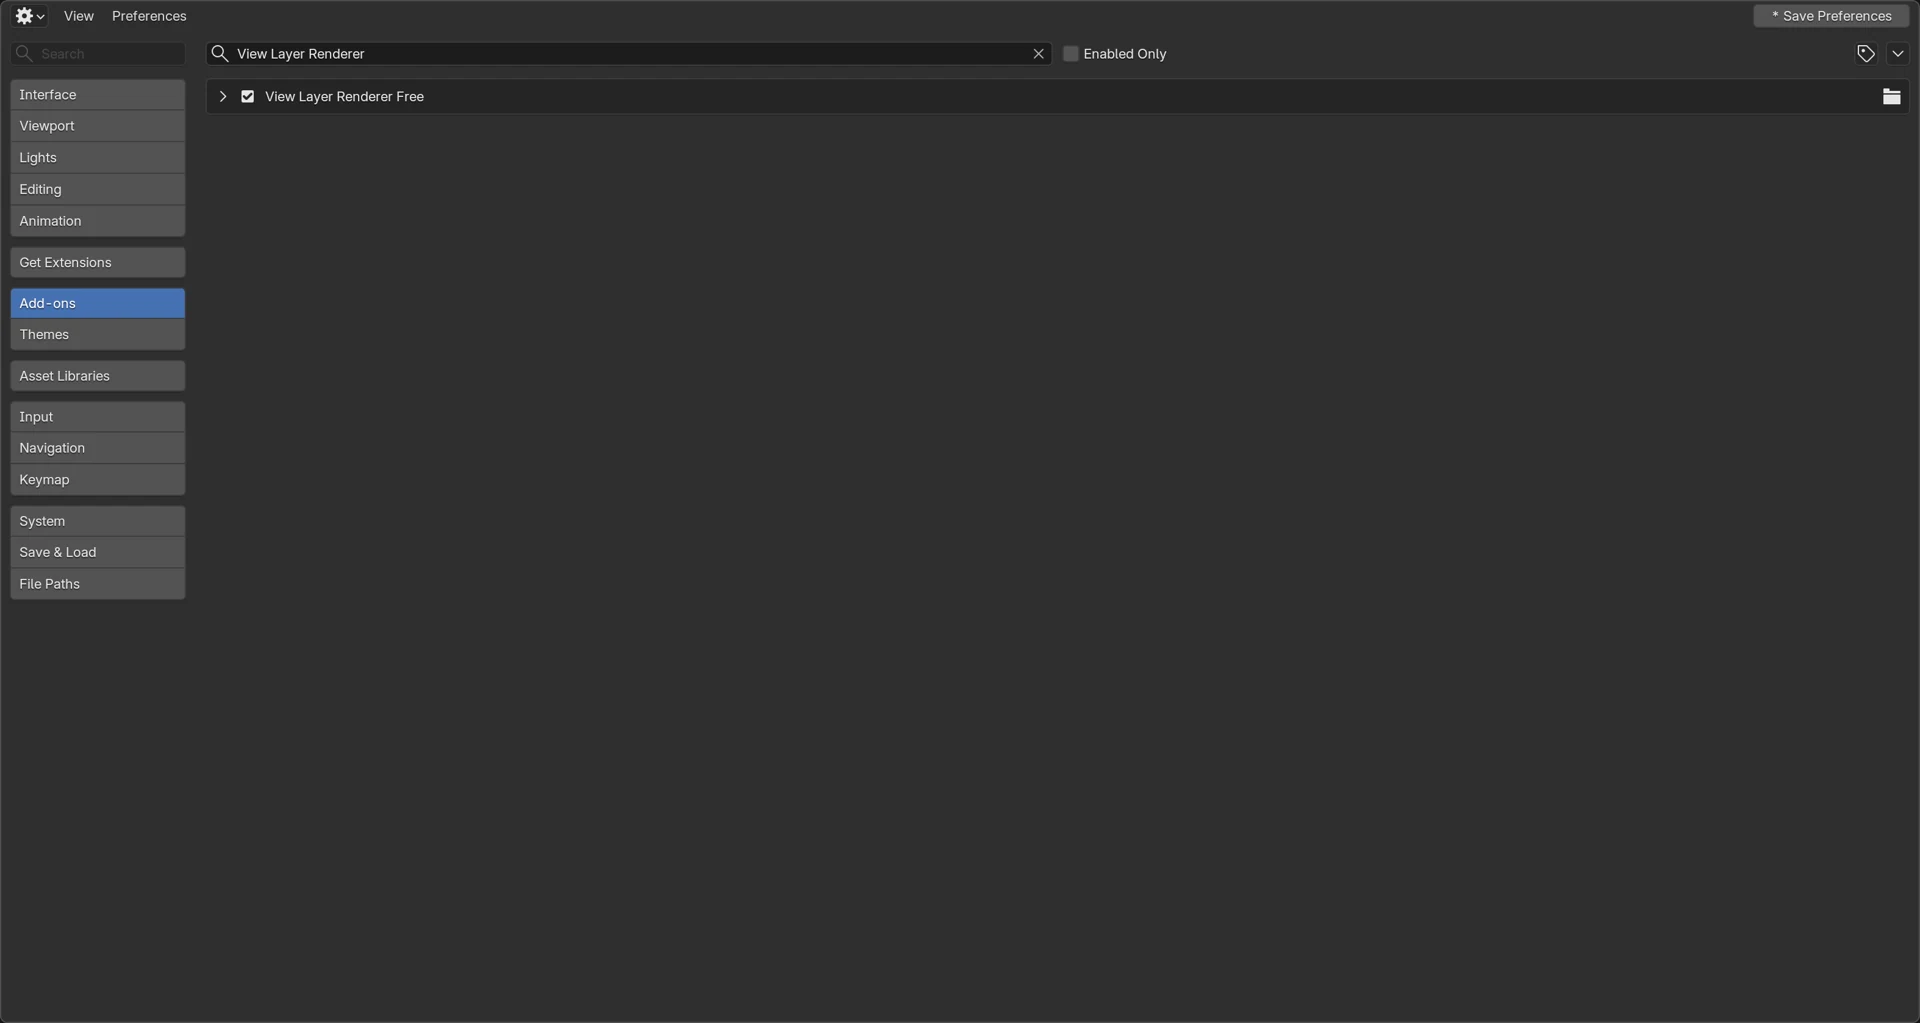
Go to Edit → Preferences → Add-ons. Open the menu at the top right and choose Install from Disk.
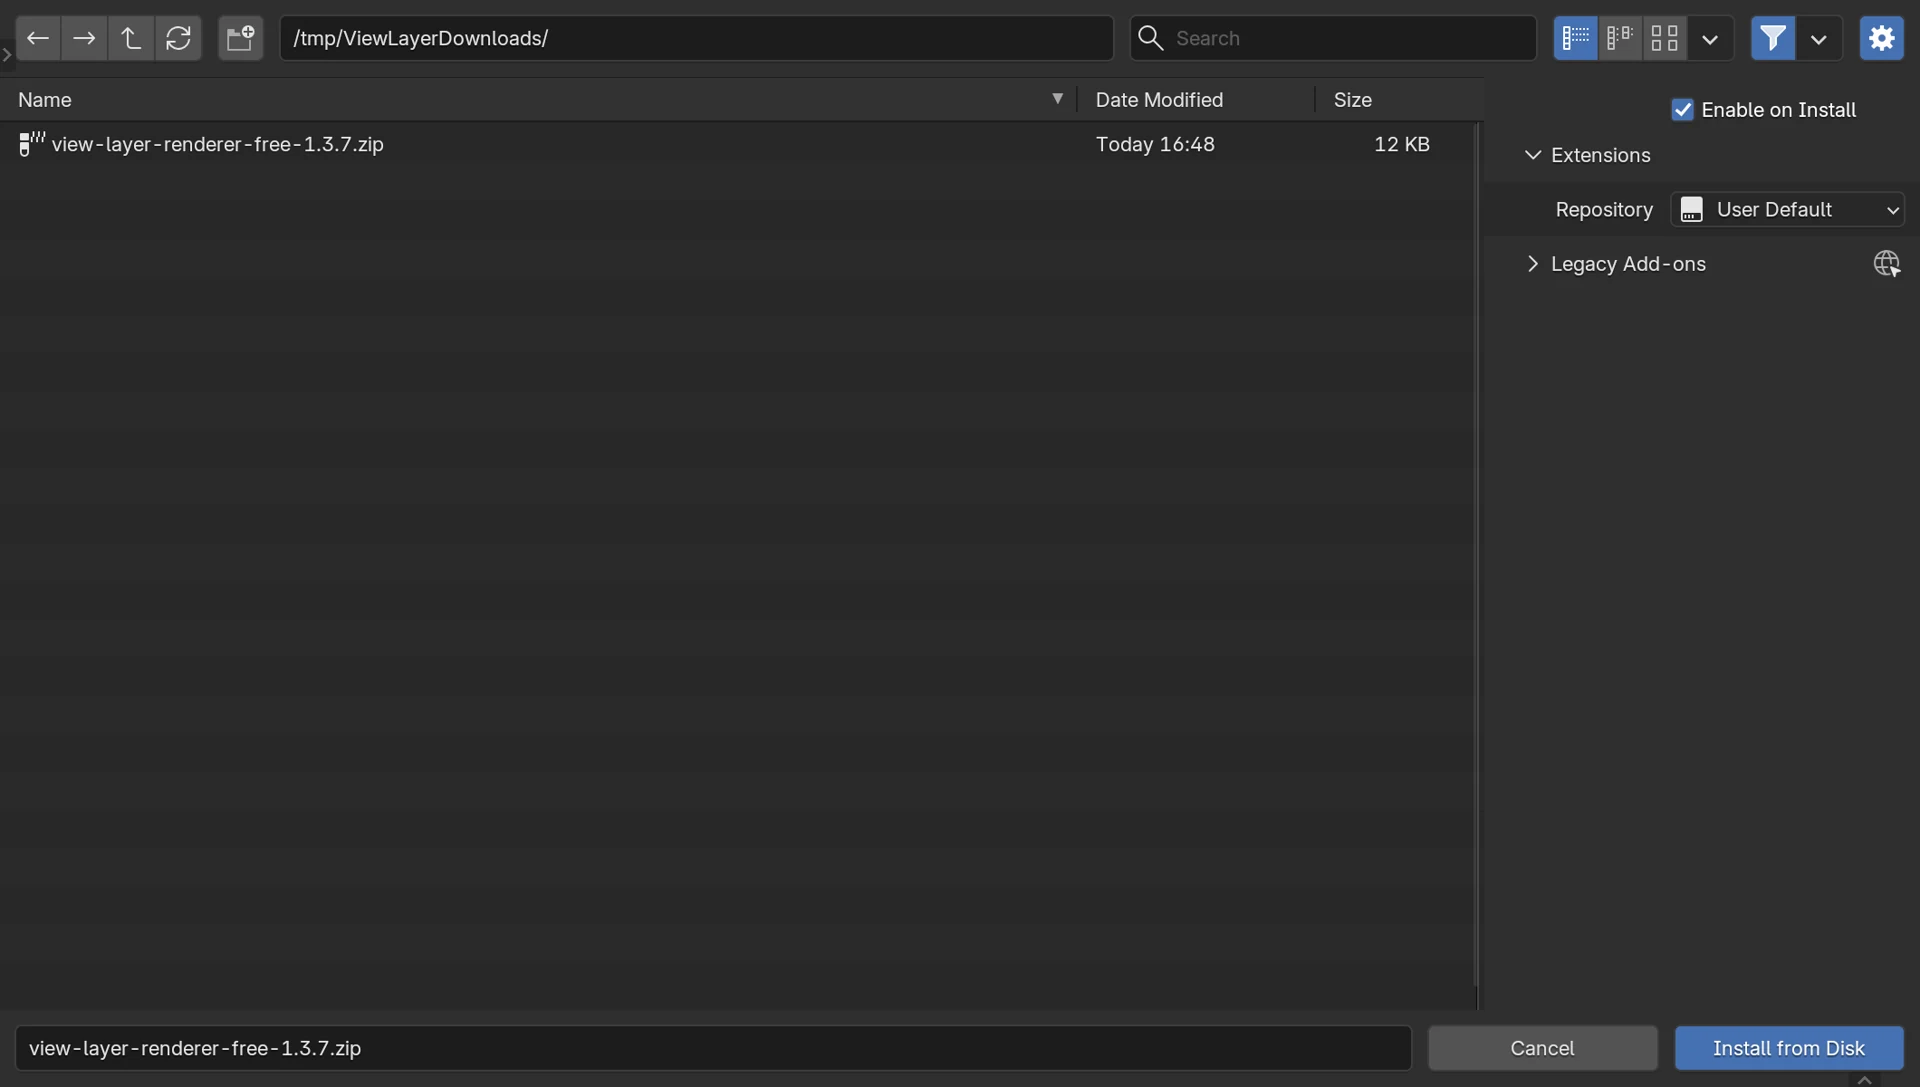
Choose the View Layer Renderer ZIP, confirm installation and enable the add-on. Keep the ZIP compressed.
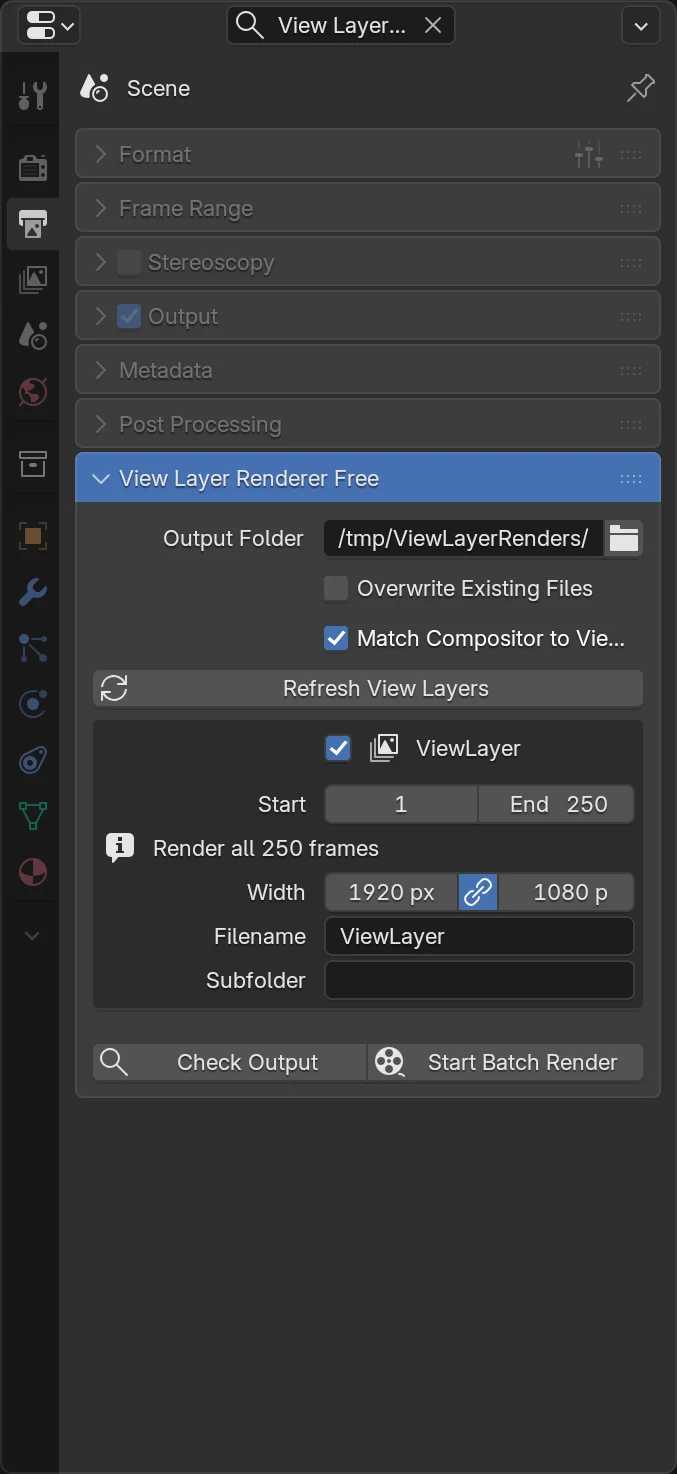
In the Properties editor on the right, open Output Properties and scroll to the bottom. Expand View Layer Renderer to get started.
Disable older editions if duplicate panels appear. Click any screenshot to view it at full size.
Free & ProChoose the control you need for each layer. | Free Batch rendering for your current Scene. | Pro Multiple Scenes and per-layer overrides. |
|---|---|---|
| Batch render View Layers | Current Scene | Current Scene or multiple selected Scenes |
| Per-layer start & end frames | ✓ | ✓ |
| Per-layer resolution | ✓ | ✓ |
| Linked width & height | ✓ | ✓ |
| Per-layer filenames & subfolders | ✓ | ✓ |
| Skip existing files / overwrite | ✓ | ✓ |
| Pre-render output checks | ✓ | ✓ |
| Last render timing report | Per View Layer & total time | Per Scene / View Layer & total time |
| Per-layer samples | Uses Scene settings | ✓ |
| Per-layer output format | Uses Scene settings | PNG, JPEG, EXR |
| Per-layer color mode, bit depth & compression | Uses Scene settings | ✓ |
| Per-layer transparent background | Uses Scene settings | ✓ |
| Transparent glass & roughness threshold | Uses Scene settings | Configurable per layer |
| Get Free | Buy Pro · $4.99 |
In Blender’s Properties editor on the right, open Output Properties and scroll to the bottom. Expand the View Layer Renderer panel to adjust the settings.
Free renders View Layers in the current Scene. Pro can render the current Scene or multiple selected Scenes in the same blend file. Layers are rendered sequentially.
The add-on renders image sequences rather than movie files. Assemble the rendered frames into a video afterward. Pro supports per-layer PNG, JPEG and OpenEXR settings; Free follows the Scene format.
Pro supports per-layer sample overrides with Cycles or a supported Eevee property. Free uses the Scene’s sample settings. Both editions support per-layer resolution.
Run Check Output to check paths, filename collisions and format combinations. Confirm your textures and camera, then test a single frame before leaving a long batch running.
Use Stop After Current Frame to finish the active frame and stop the queue. Esc cancels the active render. The add-on restores the Scene settings it temporarily changed.
Open Last Render Report to see total elapsed time, per-layer timing and completed, skipped or interrupted frame counts. Pro also groups results by Scene. Save the blend file to retain the latest report.
Use an alpha-capable format such as PNG or OpenEXR. JPEG does not support transparency. Film Transparent does not remove background objects or backgrounds added by compositor nodes.
More questions? Email hansen60512@gmail.com.
Support & installation